
Imperial Knights bosses and mechanics
Named fights across all three routes, with the elements, status effects, and scripted patterns the official Japanese and English sources confirm.
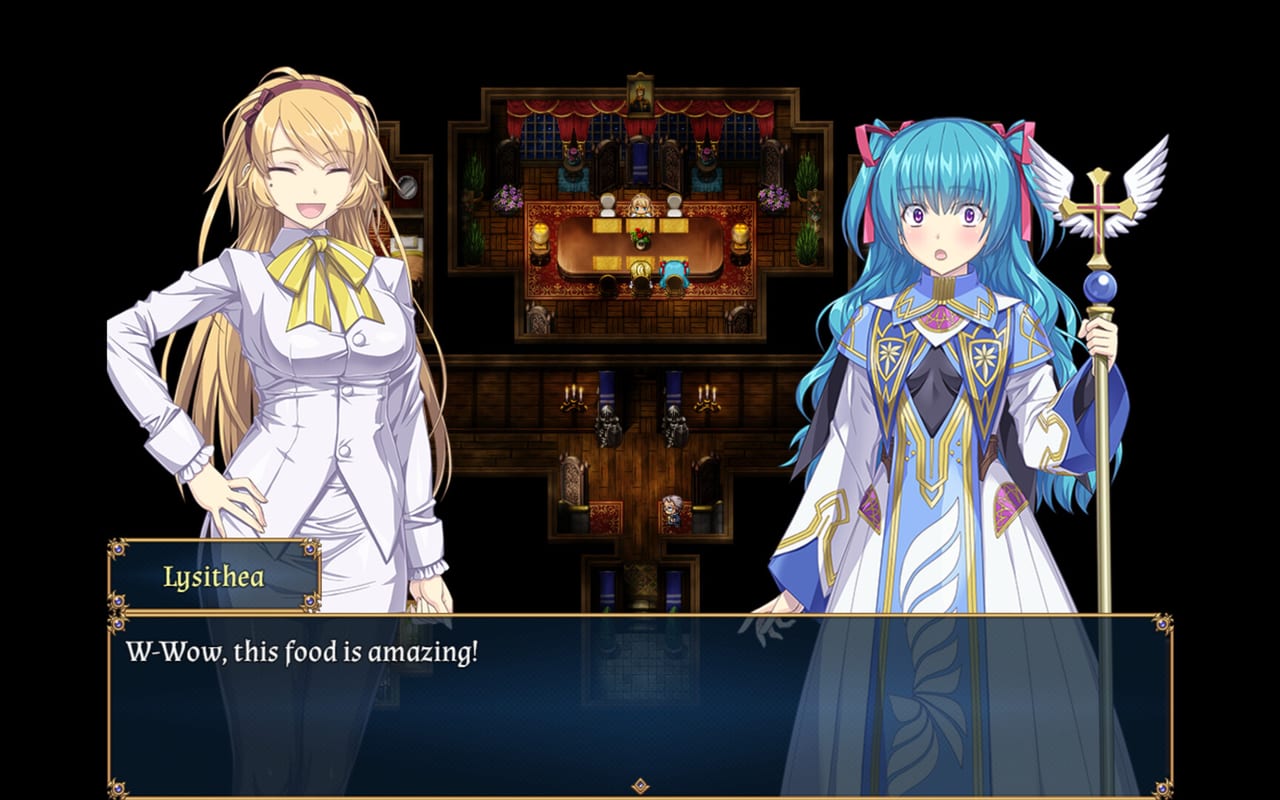
This page is the boss index for Imperial Knights on Steam. Boss names below match Kagura’s English build and the Japanese DLsite charts we cross-check against. We deliberately do not invent HP numbers — the source charts disagree on raw HP between the DLsite and Kagura translations, and what actually decides the fight is the element, status effect, and scripted pattern. Pair this with combat for armor-break math and the Route 1 walkthrough for room-by-room order.
If you are still in the manor, finish getting started first. If you only need the Route 2 or Route 3 bosses, jump to Route 2 walkthrough or Route 3 walkthrough — those pages carry the route-specific dungeon flow.
How boss data is sourced here
Every entry on this page is built from three primary sources:
- The English Steam build (app 4353650) and its Steam store page, which confirms the supported languages, single-player Windows-only scope, and Steam Cloud support.
- Kagura Games’ Imperial Knights product page, which confirms the publisher, English patch policy, and Japanese version numbering (Ver1.10(NEW), 27 Aug 2026).
- This wiki’s own Route 1, Route 2, and Route 3 walkthroughs, which carry room-by-room boss order, scripted patterns, and the soft-lock warnings the Japanese community documented.
Where a raw stat (HP, recommended level) is not agreed across sources, we say early, mid, or late for the route and skip the number. Do not trust any HP chart that disagrees with your version of the game.
Route 1 bosses (the imperial and church road)
These fights appear in order on a first-file Route 1 clear. Recommended minimum party for each step is described in the walkthrough; this list is the boss-by-boss mechanic reference.
Alraune (Maldonia North Road grove)
The first named boss. Opens with two plant adds, then the body. Fire-weak. On a clean Route 1 file, Lysithea recruits from the same rescue event that leads to this room, so heal support is already on hand. Losing this fight applies the crest flag and locks you into a different Route 1 ending — keep a save in the manor before the boss door. Recovery is possible later at Silved’s alchemy back room curse-breaker. See endings for the full flag set.
Silved madman (town north, true game over)
A scripted duel in the north of Silved. Unlike most fights, a wipe here is a real game over, not a defeat scene with flags. Play it straight: heal before the door, save in the room, treat it like a hard boss even though it does not have a boss-name card.
Robber Goblin boss (Silved north house, optional)
Optional encounter during the Silved night events. Wind-weak. The boss card is more of a tutorial on armor-break than a difficulty spike; the bigger lesson is that the same map later swaps in heavier adds once you start New Game+.
Cardinal (Protea cathedral basement)
Mid-game gate. Dark-weak. The fight has two parts the community flags every time: a Sanctuary regen / revive attempt around turn 9, and a hidden prep step the cathedral door does not advertise — you must pick up the secret herbal medicine from the grandmother NPC in Protea’s northeast house, after the town-girl side scene, before the basement door opens cleanly. Without that item the encounter is widely described as statistically unfair even at the Japanese-recommended level. See the Route 1 walkthrough for the exact NPC order.
Balnia (Protea catacombs)
Holy-weak. The distinctive mechanic is a self-damaging botched Sanctuary that hits Balnia too — Japanese charts flag it as an exploit if you can land it. Heavy single-target dunks, so Stimulants and full-HP entry are mandatory. After the win, Lea joins and the story allies convert to mercenaries — strip their gear before you leave the catacombs or they will not appear on the board.
Mud Poison (Seikuri Spirit Cave)
The boss most first-file players hit hardest. Two main mechanics:
- Poison tsunami that lands about every four turns.
- Mud AoE that lowers agility. Once agility flips, turn order changes and you lose first strike.
The DLsite chart calls Mud Poison earth-weak; the Kagura chart calls it wind-weak. Pack both elements if your cards allow it. Mina Heal every round, Poison Rings for the whole party (buy them in Seikuri before you enter the cave), Stimulants and Repair Kits stocked. Tear leaves the party after this fight — strip her gear at the cave exit, not at the throne. Winning this fight unlocks the Ether Knight ritual in the Maldonia castle basement.
Svalt’s demon king (Svalt Kingdom)
Holy-weak. The pattern the Japanese community documents is darkness on the party at the start, then three silencing adds at turn 3. AoE the adds; they do not revive. Throat medicine ready before the door, and Alice Dress card or sleep-null on Lysithea.
Tear Beast (Maldonia castle basement mid-boss)
Earth-weak. Distinctive mechanic: auto-counter on physicals. If you lack magic damage, the safe line is to heal through the counter rather than swap to physicals — the bounce damage is smaller than it looks. Magic skills and Tear’s lightning skip the counter entirely.
Sati (castle basement pre-finale)
No usable weakness. Multi-element magic rotation, periodic magic-stat down, and an ~80% current-HP hit every five turns. Lysithea in the four is the conventional answer; without a healer who can keep up with that spike, Sati snowballs. Bring bulk and Mina Heal, not a colored sword. Identical pattern on Routes 2 and 3.
Mage Reinhardt (Route 1 finale)
Unnamed in the English walkthrough and explicitly named “Mage Reinhardt” in the Route 2 and Route 3 walkthroughs — same scripted boss, different route context. The pattern is a seven-turn script: do nothing → water protection → magic shield → mirror wall → spell breaker → mana drain → dark shade. Defend on the round after mana drain to survive the party-wide nuke. Sleep-null the healer or the sleep-then-shade combo wipes the run. After turn 7 it becomes a dark-mage endurance fight.
Route 2 bosses (the captivity and underside road)
Route 2 shares the back half of the campaign with Route 1 but changes every boss from the hideout onward. Mechanic notes below are Route 2-specific; the Spirit Cave and castle basement bosses are cross-referenced above. See the Route 2 walkthrough for the room flow.
Butts (bandit hideout boss)
The hideout boss that decides the Route 2 / Route 3 split. Route 2 condition: lose to Butts (or fail to escape three times). Route 3 condition: win against Butts. Butts is tuned as a New Game+ gate; on a first file he is closer to a wall than a fight. A self-destruct bomb crafted at the alchemy shop before the hideout is the standard Japanese-chart trick to force a scripted loss without burning a real death. Japanese Ver1.10(NEW) notes that Butts can trigger a special skill when a party member drops below one-third HP or enters armor-break — hiring a male mercenary tank before the fight is the safest answer on a fresh file.
Bio Worm (slave facility transition)
No element cheat. The mechanical trap is a delayed “Dyson Breath” wind-up attack that is a scripted forced loss if the wind-up completes, even on a boosted NG+ file. Kill the worm before the animation finishes. Tania’s Poison Dagger is the conventional damage tool here; Diana’s strongest physicals do most of the rest. The Route 2 walkthrough flags this as the real Route 2 gate.
Metal trio (Jupiter Mountain Ancient Ruins)
Metal Gunner, Metal Mage, and Metal Guard in one fight. Lightning or earth weakness varies by chart. The ruin’s chest layout is empty — go straight to the center entrance and route the sigil traps. A second Butts rematch follows shortly after with the first two turns frozen, so save between them.
High Orc + adds (Spirit Cave, Route 2 variant)
Replaces the Route 1 Spirit Cave content with orc variants. Holy-weak boss. Same Spirit Cave map, harder adds. Buy Poison Rings in Seikuri regardless of route.
Norakura (Route 2 castle basement mage)
The Route 2 mage who replaces the Route 1 mid-boss fight. Fights alongside three Demon Knights. Dark-weak. After Norakura, the route falls back into the shared castle basement sequence: Sati → Mage Reinhardt with the same patterns documented above.
Route 3 bosses (the mercenary and frontier road)
Route 3 is the clean-escape and frontier path. Early bosses change shape — Puremite Mine, elf forest, volcano, fortress — then the campaign rejoins the shared castle basement finale. See Route 3 walkthrough for the dungeon order.
Butts rematch (elf forest)
Yes, you fight Butts again on Route 3. Same patterns, NG+ stats on Diana make this a real fight instead of a wall. Wind-up is the same — wind-weak boss, hire a mercenary tank for the armor-break trigger if you are underleveled from NG+ carry.
Ariel (elf forest)
Plant boss in the elf forest. Fire-weak per the Japanese charts, using nature and plant-based attacks. Fire-element weapons or fire cards apply. Ariel is later recruitable as a story party member; this is the fight that opens that path.
Puremite Golem (Puremite Mine)
Fire-weak. First major Route 3 spike. Ellis joins just before this fight and brings sewing and fire/earth magic, which is the canonical answer. If the fire damage is not enough on your carry, grind levels at Machant before re-entering the mine. Known post-fight bug: fast-forwarding with the W key during the post-battle sequence can soft-lock the game. Let the scene play at normal speed.
Spirit Plant (elf-forest Spirit Cave, Route 3)
Fire-weak. Drops the Spirit Stone that opens the elf-forest resolution. Ellis and Ariel leave the party automatically after the fight — strip their gear. The same Spirit Cave that hosts Mud Poison on Route 1 hosts Spirit Plant on Route 3, so the cave layout is identical but the boss and weakness change.
Kaen clan (Olim Great Volcano)
Multi-pack encounters, not a single named boss. Each three-pack hits hard and the cave rewards route knowledge over level. The Flare Core dropped in the central room is what unlocks the Fortress Eraser Power Room, so do not skip the path.
Research Material (Monster Park)
Multi-pack encounters, scaling through the park. Treat them like Route 1 forest packs but expect two consecutive six-pack waves. The park is a Route 3 gate, not a victory lap.
Fortress Eraser multi-fight (Fortress Eraser final dungeon)
The Route 3 signature boss sequence. Three fights back-to-back: three Imperial Soldiers, then three Demon Knights, then capture and prison break. Holy-weak knights, dark-weak soldiers, full heal between fights. This is the “strike against the empire’s darkness” promise from Kagura’s store page. The walkthrough-3 page carries the dungeon order; bring the full Ether Knight kit.
Castle basement finale (Route 3)
Same shared finale as Route 1: Tear Beast → Sati → Mage Reinhardt, same scripted patterns, same “sleep-null the healer” advice. The route does not add a unique finale boss — it adds the Norakura soft-lock bug in the throne scene before the finale, which the Route 3 walkthrough documents.
Guild quest bosses (any route)
These are the optional but high-search-volume boss fights tied to the Adventurers’ Guild request board. Each has a route-specific note; full quest order is on the guild quests page.
- Lighthouse goblin hunt — Salmon Hydra in the lighthouse area. Wind-weak boss with fire and water resists. Ariel in the four changes the post-fight talk and adds an extra recollection row; the 5,000 G reward is the same with or without her.
- Fighting tournament — three arena bosses in sequence (early / mid / late tournament), each with their own chart-dependent weakness.
- Family heirloom — VIP duel that resolves on card rarity match rather than raw combat power.
- Herb gathering (Route 2) — two native adds, earth-weak.
- Outlaw hunt (Route 2) — Halfway boss, wind-weak, EXP-heavy reward.
- Ghost trouble (Route 2) — Mystery life form 1 + 2, dark-weak.
- Survey team search (Route 3) — three Sahagin, wind-weak.
- Girl’s revenge (Route 3) — five bodyguards, earth-weak. Easy to miss because the trigger NPC is unmarked.
- Sleeping prince (Route 3) — two giants and a succubus. Dark and wind weakness split between adds and boss.
Boss-prep checklist (works on every named fight)
- Heal to full before the boss door. The recovery items in your pack at the boss are the only ones that matter.
- Status-null card on the healer. Sleep-null for the finale, blind-null for catacomb and Svalt fights, poison-null for Spirit Cave.
- Element weapon for the boss’s weakness. Where two charts disagree (Mud Poison is the main example), pack both elements.
- One slot reserved for a male mercenary tank if the boss uses armor-break triggers. The Butts special skill and any boss with “below one-third HP” or armor-break mechanics reward a male tank.
- Stimulants and Repair Kits in the inventory, not in storage. Equipment that prevents a loss beats equipment that helps you rebuild.
- Save in the room just before the boss door. Mansion saves from before the guild are the cross-route safety net, but a boss-room save is the local one.
What to do when the boss takes longer than expected
- Re-check the boss’s element before re-equipping. Wrong element is the most common reason a fight drags from three rounds to ten.
- Check the boss’s status effects. A blind or silenced healer can lose a turn; carrying a Dispel / throat medicine is faster than re-equipping.
- Look for the scripted phase. Sati’s five-turn spike and Mage Reinhardt’s seven-turn script are the two patterns where “more damage” is the wrong answer — survive the scripted turns, then race the boss.
- Re-read the room. The Route 1 walkthrough and Route 2 walkthrough and Route 3 walkthrough pages carry the boss-order context; a boss that seems unfair often has a hidden prep step (herbal medicine, self-destruct bomb, Fire Ring) you missed.
For the systems layer under all of these fights, the combat guide covers the four-slot loop, armor-break, Repair Kits, and cards. For the soft-lock bugs specific to Norakura’s dialogue and the Puremite Golem post-fight scene, the route walkthroughs are the primary source.
Frequently Asked Questions
Quick answers to the questions Imperial Knights players ask first.
Which Imperial Knights boss is the hardest on a first file?
Most first-file players hit either Cardinal in Protea (without the herbal medicine) or Mud Poison in the Spirit Cave. Both are winnable with prep; the details and the prep steps are on this page.
What is the difference between Sati and the final boss?
Sati has no usable weakness, rotates multi-element magic, drops a magic-stat debuff, and hits for ~80% of current HP every five turns. The final boss (Mage Reinhardt) is a seven-turn scripted phase followed by a dark-mage endurance fight. Same room, different role.
Why does Butts keep showing up on different routes?
Butts is the bandit hideout boss whose win/loss decides the Route 2 / Route 3 split. He returns as a rematch on Route 3's elf forest. Japanese Ver1.10(NEW) added an armor-break and one-third-HP trigger for his special skill.
What is the Dyson Breath on Bio Worm?
A delayed wind-up attack. If the wind-up completes, the fight is a scripted forced loss even on New Game+. Kill the worm before the animation finishes — Tania's Poison Dagger is the conventional answer.
How do I avoid the Norakura soft-lock on Route 3?
When Norakura joins and asks you to respond, do not pick any named dialogue option. Select the lowest empty space. This is the documented workaround for the Japanese version bug.
Does Imperial Knights have Steam achievements?
No. As of the current Steam build (release 28 Aug 2026), the game has no achievements. Achievement trackers (TrueSteamAchievements, SteamDB) all confirm zero achievements for app 4353650.