
Imperial Knights Route 1 walkthrough
A room-by-room Route 1 chart from the guild certificate to the castle basement.
This walkthrough is Route 1 only — the “pay the guild fee yourself” path. If you borrowed money from Sting, stop and open the route guide. Mixing charts is how people end up looking for a cathedral that does not exist on their file.
Keep a beginner save in the manor. Use combat for armor-break and boss tells. Use the checklist for crest, hair color, and ending flags. Names below match Kagura’s English Steam build.
Maldonia → North Road
- Choose prepare the fee yourself.
- Take the used dress from home, sell it at the weapon shop, receive the guild certificate.
- Buy a weapon, a Defense Ring, Repair Kits, herbs.
- Accept the first guild request and leave north.
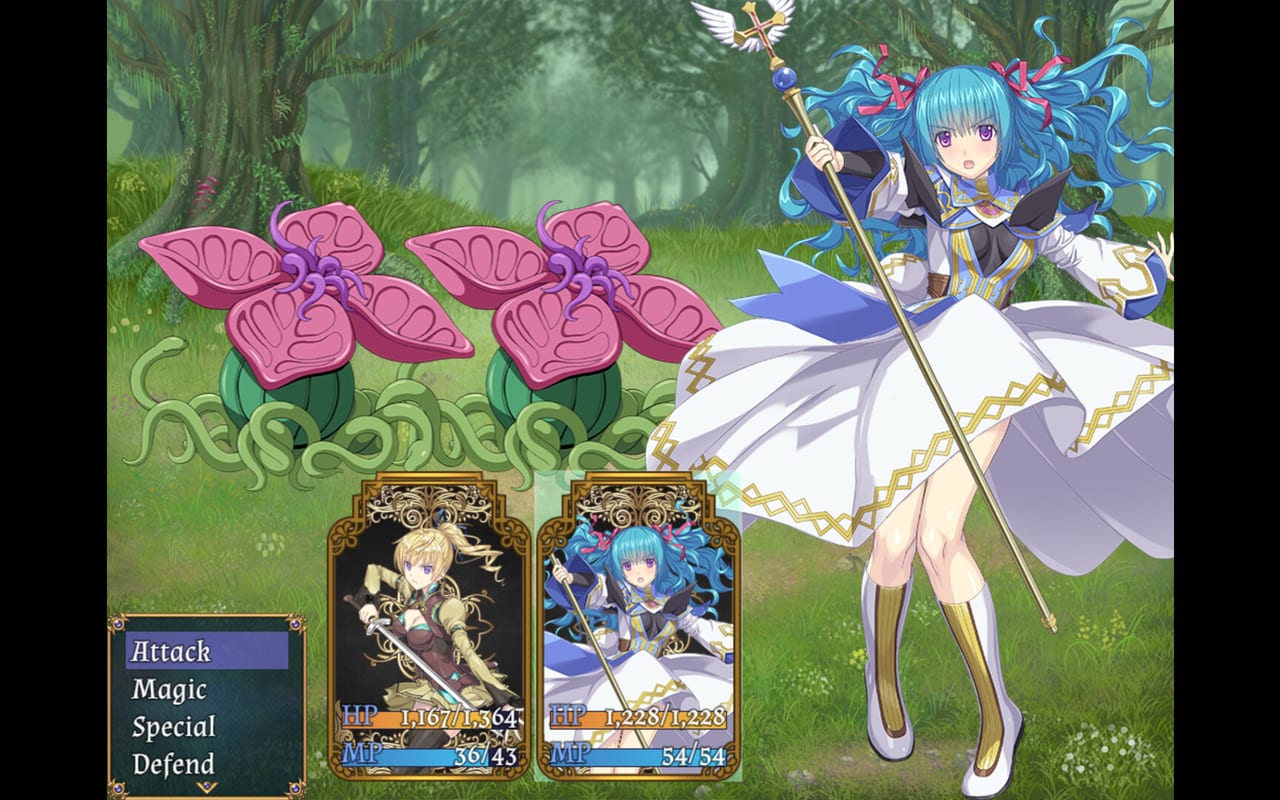
Forest. Pick shaking plants (herbs). Flee three-packs if HP is yellow. Rescue the attacked woman to recruit Lysithea. The grove boss is Alraune after two plant adds. Fire-weak; Straight Thrust + Heal wins. Losing the rescue or the boss sets early flags (including the crest on a boss loss).
Silved and Robust Fort
- Town north: the madman fight is a true game over on a wipe. Play it straight.
- Lord’s house: talk to Steve, then go to Robust Fort.
- Follow
!markers, speak with Tear. - Report at Silved guild → junior adventurer. Lighthouse goblin quest unlocks.
- Sleep, do the lord’s night event, rest again, talk to Tear to add her and open Holy Capital Protea.
- Optional: Silved tavern night work (2,000 G, then a higher payout). Worth it for later Poison Rings.
Holy Capital Protea
- Cathedral interior event.
- Northeast weapon shop: another madman — kill it.
- Northeast house: talk to the town girl about herbal medicine, then the marked grandmother. Do this. The cardinal fight is brutal without the medicine, even if the basement door will still open.
- Unlock the plant colony forest.
Plant colony. Treants and killer bees. At the moving mushroom, “weaken it first” is the safer boss. Fire-weak again; Lysithea’s Weapon Bless plus patient physicals work even without the weaken.
Return the mushroom material, collect secret herbal medicine, wait for night, and take the stairs behind the goddess statue into the cathedral basement.
Basement. Cultist packs, a blocking priest, then the Cardinal (dark-weak, Sanctuary regen, revive around turn 9). Level 12–13, Half Magic potions, Mina Heal. After the win, Lea joins and you fight three cultist waves on the way out. Then the catacombs from the west church stairs.
Catacombs. Zombies, spirits, Balnia. Holy-weak, heavy single hits, botched sanctuary that also hurts him. Stimulants in the bag. After the boss the story allies leave and register as mercenaries — unequip them first. Tear talks at Silved’s lord house, then you visit Maldonia castle’s throne and, after a home event, Seikuri Village opens.
Optional in Protea: with Lea in the party, a nearly invisible NPC under the item-shop gacha runs a card battle. Rewards are scenes, not loot. Rarity of your cards decides the match.
Seikuri Village and Spirit Cave
Talk to the village chief in the east house to open the Spirit Cave. Night NPC in the northeast is optional. Buy Poison Rings for the whole party at the village shop before you enter.
Cave: slimes, ropers, then Mud Poison. Poison tsunami, mud AoE that cuts agility. Mina Heal every turn, earth/wind damage. Charts list ~35,000 HP. Winning lets you report to the emperor. Tear leaves — strip her gear at the cave exit, not at the throne.
Castle basement mage offers the Ether Knight ritual and a hair color (gold / silver). Cosmetic only. Details: Ether Knight guide.
Revolutionary hideout and Svalt
Seikuri mountain road into a revolutionary fight (win or lose, the jail scene happens). Search the glowing spot, then the left edge of the cell to escape. Free soldiers as you go up, grab the underground jail key from the duo on the east, talk to every lab NPC, then leave when Diana says she feels uneasy.
Throne report → Robust Fort → battlefield → Svalt Kingdom. Tear rejoins after the field. Svalt’s demon king is holy-weak, blinds the party, then spawns three silencing adds at turn 3. AoE the adds; they stay dead. Throat medicine is not optional.
Night hospital work in Svalt is optional gold. Back in Maldonia, talk to the 1F researcher and the basement castle soldier, then the west area from the guild, then the sewers. The slave facility here is a Route 1 story beat (key from the former vagrant in the north cell), not the full Route 2 dungeon. Sewers → castle infiltrations.
Crest cleanse (optional, ending-critical)
If the grove or later fights applied a crest, Route 1 endings change. Silved’s alchemy shop back room has a curse-breaker who wants a large collection of samples from human male scenes (empty bottles in inventory). You can also stay crested on purpose for the crest ending. The checklist tracks the flag. You cannot do this after you commit to the last dungeon without a prior save.
Maldonia castle basement (finale)
Upper floors: avoid soldiers or you get sent back. Lower floors: normal encounters. Tear Beast (earth-weak, physical auto-counter) then Sati (no weakness, 80% current-HP spike every five turns — keep Lysithea) then the final boss with a seven-turn script ending in a dark shade. Sleep-null the healer.
Route 1 endings
- Defeat ending: lose to Sati or the final boss.
- Crest ending: win with the crest still applied.
- Normal ending: win with the crest gone.
Defeat endings still count as a clear for New Game+, which is how you reach Routes 2 and 3 at a fair level. Post-clear, Route 1 allies sit on the mercenary board.
Guild extras on Route 1
After junior rank you can take lighthouse goblins, a fighting tournament, and a family heirloom card-debt quest. Each has extra defeat flags if Ariel, Pan, or Ellis is or is not in the party. They are optional for the ending, required for completionists. DLC adds one more high-difficulty job on this route.
If you are lost
- No Protea herbal medicine → go back, do not brute-force the cardinal.
- No Tear → finish Silved night + lord events, then talk to her again.
- No Spirit Cave → chief in Seikuri east house.
- No Ether Knight → beat Mud Poison, report, go to the basement mage.
- Stats feel dead → party tier, cards, Repair Kits, and a night of guild grinding beat most “I am stuck” reports.
For Route 2 facility rooms and Route 3 mines/elf woods, stay on the route guide and planner. This page will not list those maps on purpose.
Frequently Asked Questions
Quick answers to the questions Imperial Knights players ask first.
Does this walkthrough cover all three routes?
No. It is Route 1 only. Use the route guide for 2 and 3 opening conditions and map spines.
When do I become an Ether Knight?
After beating Mud Poison in the Spirit Cave and reporting to the emperor. See the Ether Knight page.
How do I get the normal ending on Route 1?
Clear the crest at Silved's curse-breaker, then beat the final boss. Winning while crested is a different ending.
What level should I be for the cardinal?
Around 12–13 with the herbal medicine item. Without the item, level is not enough.